 Bonjour! I'm still having formatting issues
, but I didn't want to let that stop me from offering my first
tutorial! I have been getting inquiries and comments from readers about offering classes, so I figured this would be a great place to start! For our first lesson, I wanted to keep things simple, starting with a basic
symmetrical necklace design. Please note, this tutorial is assuming you already know how to wire wrap. (If you need help with this, please feel free to comment or e-mail me and I'll walk you through the process.) In the above photo you can see the tools I use for most of my projects: round nose plyers, flat nose plyers (ideally two pairs), wire cutters, 24 and 26 gauge wire, and a ruler. I also like to work on light-coloured muslin, which keeps my table clean, beads from rolling around, and I can see the colours of the stones more clearly than on a darker surface.

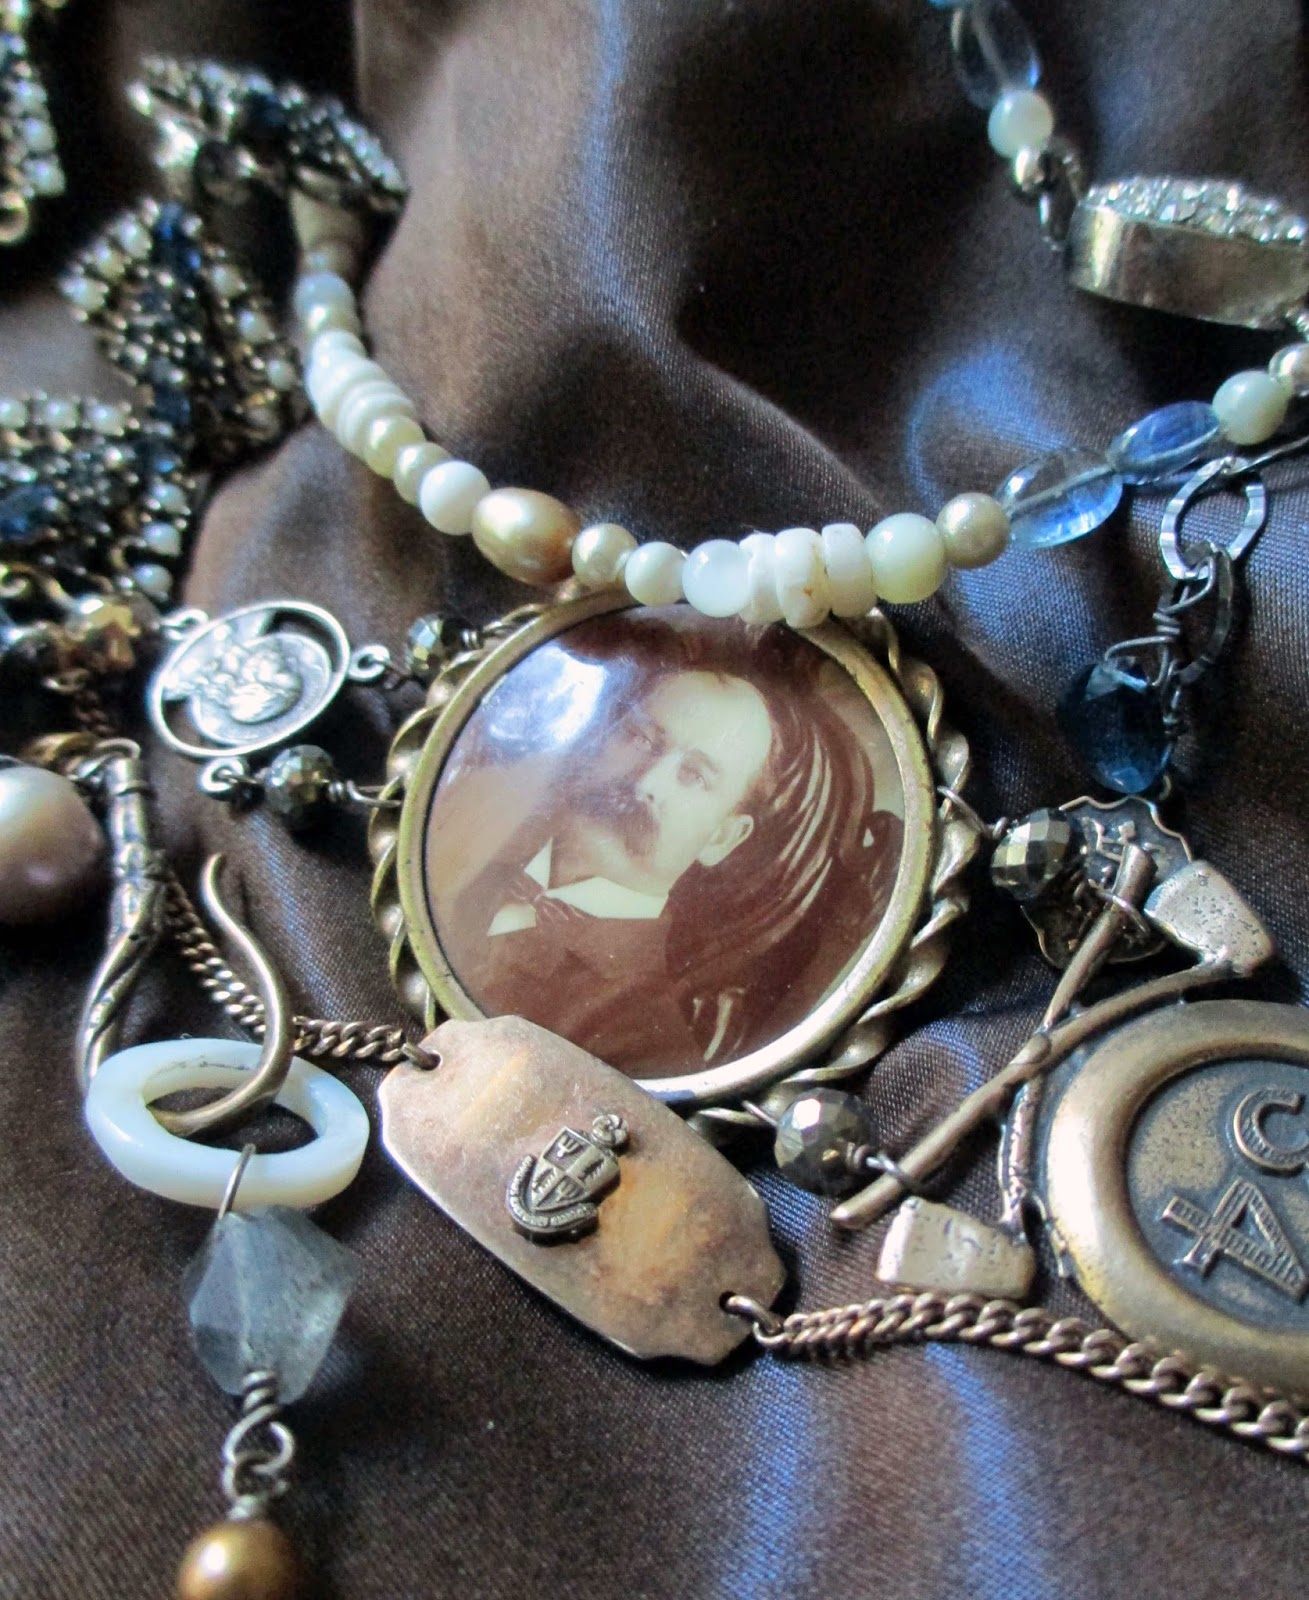
The necklace I will be showing you today features a small but good quality shell cameo set in a filigree frame. I removed the pin back with wire cutters so it would lay nicely on the wearer's chest. Because the cameo is on the smaller side, I wanted to give it more impact by hanging it from this vintage Art Nouveau brooch with an amber-coloured glass stone in the centre. Once obstacle I ran into is that the cameo's filigree frame has two holes at the top, rather than one centered hole. I overcame this by wire-wrapping two tiny citrine stones from each of the cameo's holes to the large brooch. I used 26 gauge wire here because the tiny stones sometimes have equally tiny holes, and it can be tricky wrapping stones so close together. There is not much room to swing the wire around, and I find the thinner wire to be more flexible in tight spots.

To start forming the necklace's chain, I wanted to attach links from this Art Deco filigree bracelet to the brooch. Whenver possible, I like to keep the linking pieces intact so the wire does not slip around too much.

Here it is wire-wrapped to the brooch.

Next I wanted to add this freshwater pearl with filigree bead caps on each end.


Using 24 gauge wire, I stacked the bead cap, pearl and another bead cap in that order, then closed the loop.


Making progress! :)

After wire-wrapping silver rose-embossed beads and citrine nuggets, I am ready to attach some vintage bronze linked chain. I unhinged the links in the middle to form two halves of my original chain.

And here it is wire-wrapped to the citrine stone.

When I measured the necklace, it was too long for my liking, and I wasn't happy that there were four bronze links on each side toward the back, since I prefer an odd number.

So I decided to remove one link from each side. These can be saved for use in another project... earrings perhaps! ;)

I then attached a gold-filled watch chain bar to one side, and mother of pearl bead and bone circle to the other. I usually place the part of the closure that requires the most manipulating for the wearer (in this case, the bar) on the right side (which is to your left when the piece is laying on a table in front of you), presuming most people are right-handed.

Finally, I wanted to add a gold heart locket to one side for just a touch of asymmetry, and had two options from which to choose. Option 1 is smaller...

And Option 2 is larger. I thought it was too big, so I went with the smaller piece.

 Voila! Here is the finished necklace! :)


I hope this tutorial has been fun and informative! Please offer your comments and suggestions on what you may like to see in the future. Happy creating, everyone! :) Robyn


 Voila! Here is the finished necklace! :)


